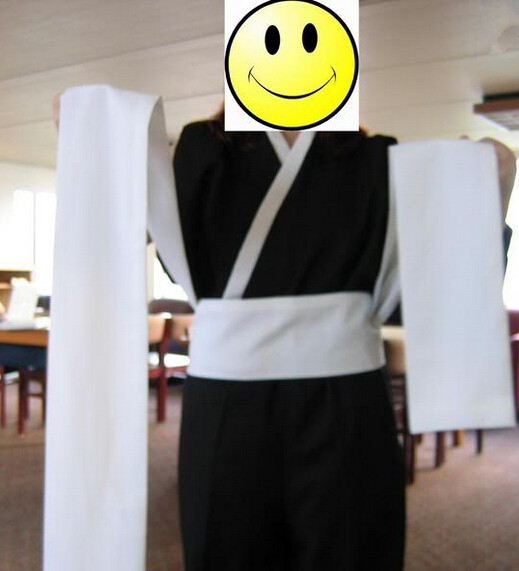
Hi, guys, do you
bother with tying your Shinigami Obi Belt for your bleach cosplay? How to tie
it beautifully and decently? Here I am going to show you the tutorial, hope it
will help you.
Step1: Put
yourself in the middle part of the whole belt, and keep the two parts of the
belt at equal length on each side of you.
Step2: Wrap the left part around the front of your body once.
Step3: The “cross”
of the two parts should be at the back of your body so the hakama loop could
cover it. The let part of the belt that you just wrapped around your body
should cross under the right one in the back of you, while keeping the right
part still.
Step4: After the cross,
take the left part back over to your left side. You should ne have one very
long belt on your right and a shorter one your left.
Step5: Wrap the
long right part around the front of your body toward your left side. This
should be crossed under the left part at the back of your body inside the
hakama loop.
Step6: Now you
should have a firm and straight base for your knot. Your right part will be
slightly longer than your left part.
Step7: Put your
left part over the right one so it creates a triangle between the belts and
your body. And
then form the first part of your knot.
Step8: Make the
right part a “bunny ear” or one side of a ribbon bow out of it. Keep your right
hand on the bunny ear base. The left part, like wise, do the same as the right one.
Step9: Now the belt
should be hanging down on the left side of the bunny ears and your right hand
should be sticking out of a hole created by the wrapped-around belt. Take the
end of the belt and make the secondary bunny ear by pulling it through the hole
your right hand is in.
Step10: Congratulations!
You make it! You just need some adjustments.